Although it was a rainy, drizzly day, Lincoln and I had some errands to run. While I was in Target I decided to purchase 4 panels of textured cream curtains to replace the faux-suede camel-colored curtains we currently have in our living room. They were a nice neutral, but had definately seen better days and didn't match the new natural woven shade I bought a few weeks ago for the large part of our picture window. The Target panels were cheap at $8 a panel but I knew they would serve their purpose. I walked around with some cream colored pillows in my cart for about an hour browsing and trying to decide if I really wanted to spend the money on pillows that were white and 'spot clean only'. I went with my better judgment and put them back on the shelf. I did, however, leave with a good sixed brown 11x14" frame for just $9 and a nice brown woven rug for the entryway, I have the same one in red in the kitchen and have been really happy with it for it's $5 price tag!

After Target we ran next door to Super Wal-Mart (how nice is it that they are next door to each other!). I needed spray paint for my dining room chair redo (which I will hopefully complete tomorrow), after unsuccesfully looking for a small accent piece for the entryway console table I wandered into the curtains and drapes aisle. Imagine my excitment when the first drape display that caught my eye was a entire set that included 2 drapes and a valance for only $9! Granted I didn't need the valance, but I knew I could use the extra fabric for something, if not on another window. I happily grabbed two sets so I could hang two panels on each side of the large window. My Target drapes will be going back asap, they were nearly twice the price and I even preferred the texture of the Wal-Mart drapes over the Target ones.

Next I found some 'stone' colored pillows, very bland but good sized and light colored like I had been searching for, on sale for $5 each. I also got a chocolate brown faux-suede pillow for, well...somewhere. Although I wasn't crazy about the 'stone' colored pillows, I knew for $5 I could work with them, even just as filler pillows for now. I bought 2.

After my Wal-Mart success we ran to Joanns for some fabric for my dining room chair redo. Normally I compare fabrics and prices and both Joanns and Hobby Lobby (which are also basically next door to each other) but being that it was Sunday, Hobby Lobby was closed. Luckily, I found a fabric I liked at Joanns, and for 30% off with a $5 coupon, it was worth not being able to price-check at Hobby Lobby. While I was there I picked up some buttons, after being inspired by a pillow at Target, I thought I could add them to the plain Wal-Mart pillows.
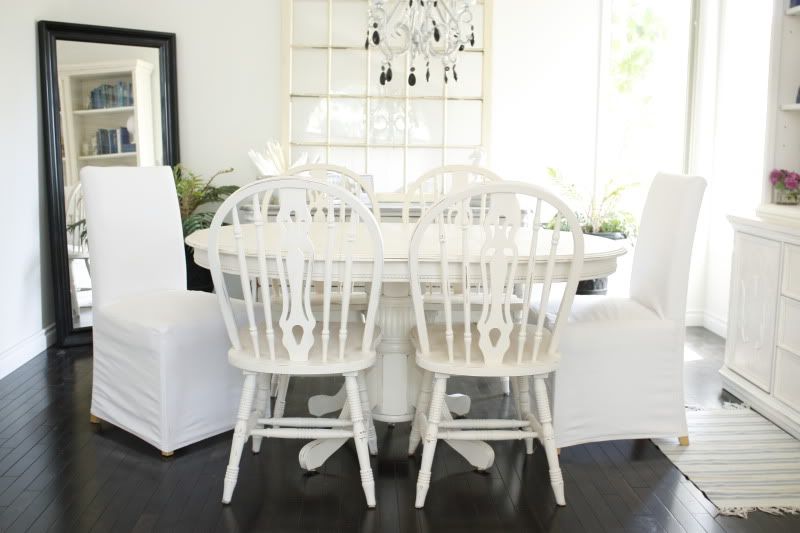
Then it was home again, home again, and nap time for a tired Lincoln. After getting dinner thrown in the oven, I hung the drapes. I was really dissapointed to find that apparently 'one complete window set' really means 'one complete attached window set' Le sigh. I was not expecting the valance to be attached to the panels, and that certainly didn't agree with how I wanted to use them. I decided the best option was to just cut the valance off carefully, cut the panels down the middle of the small strip that attached them, and hope for the best. I be honest, I don't plan on telling anyone this, because if I can't notice it now, most likely no one else can! Although they need a good steaming, I am thrilled with the difference they make!
Before

After

After dinner I decided to try jazzing up the plain-jane pillows. Using the extra valance fabric I removed, I wrapped the pillows in it, and added the buttons from Joann. Cute and custom! They add a great personality, and I can even slip the covers off and wash them if they get a little dirty.


+of+family.jpg)


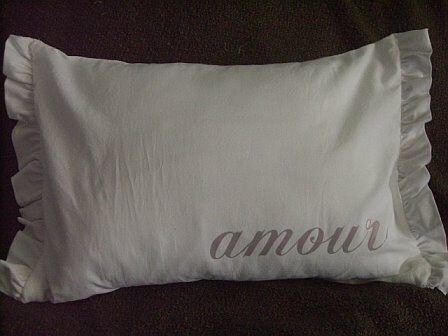


 I was delighted that while browsing a small local gift shop the other day I stumbled upon these little gems on clearance for....$1.75 each!
 Pretty darn close if you ask me! Now they are making me happy sitting on our dining room table. :)